
When we first moved into our home, we thought hanging curtains was a simple two step process. Buy the panels. Put them up. Done. Then we learned the truth. The difference between curtains that look “fine” and curtains that look designer level comes down to the accessories you use.
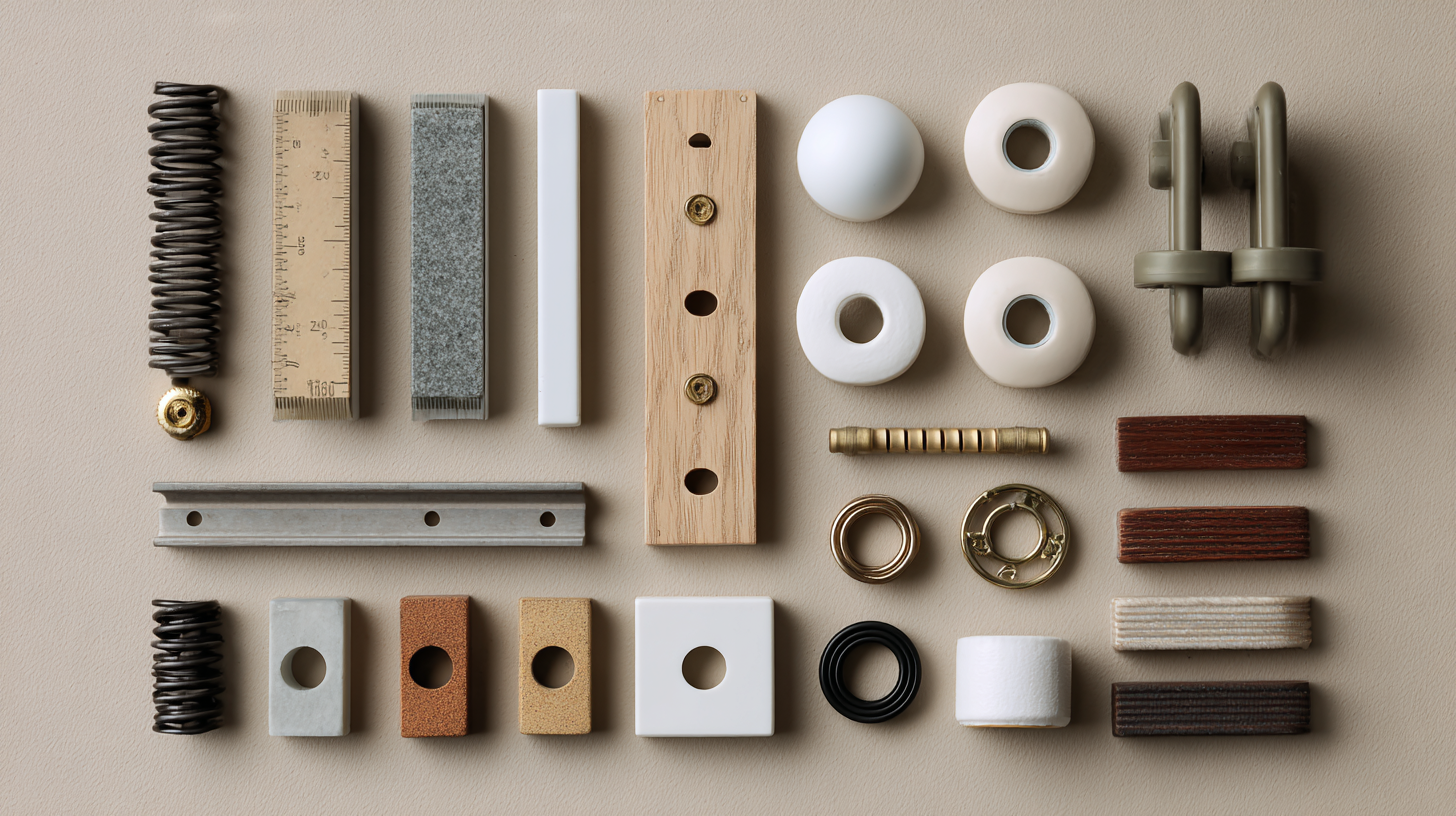
Most of these pieces are inexpensive, easy to install, and make a massive visual difference. After hanging curtains across fourteen windows and testing every type of hardware, here are the accessories we now consider essential.
1. Curtain Spacers (Our Secret Weapon)
If you have ever wondered why your curtains bunch awkwardly or push against the wall, curtain spacers are the quiet hero you are missing. They create just enough distance between the wall and the rail or rod so the curtains hang straight, move smoothly, and avoid rubbing.
Why we love them
- Prevents curtains from scraping the wall
- Helps pleated curtains hang in clean, even lines
- Gives motorized rails extra clearance
- Makes the whole setup look intentional
We used spacers in almost every room. In tight corners, near window trims, or over baseboards, they solved problems we did not even realize we had.
2. Curtain Rings or Gliders
Whether you use rods or tracks, high quality rings or gliders make a bigger difference than you expect.
For rods
Choose rings with smooth internal surfaces so the curtains do not snag. Clip style rings work well for standard panels, while hook style rings look more polished for pleated curtains.
For tracks
Gliders should move quietly and evenly. Cheap ones rattle or stick.
3. Mounting Brackets Built for Real Homes
The brackets you choose decide how straight, sturdy, and durable your curtain setup will be.
Look for:
- Thick metal construction
- Extra screw holes for stability
- Matching color finish
- Versions with extended depth if you use curtain spacers
We replaced several bracket sets because the originals were too flimsy for wide windows.
4. Rod Connectors for Wide Windows
If you have large living room windows or sliding doors, chances are you need a longer rod than anything sold in store. Rod connectors let you join two rods seamlessly so the curtains glide across a larger span.
Tip
Choose a connector that matches the rod diameter exactly. Any wiggle creates drag.
5. End Caps or Finials
Even if you prefer a clean, minimal look, end caps make rods feel finished. If your style is more decorative, finials add personality and make the setup feel intentional.
We usually stick to simple shapes, but the difference is noticeable every time.
6. Tiebacks or Holdbacks
These are optional, but helpful if you want to shape the room with natural light.
Holdbacks
Mounted on the wall to pull curtains open in a curve.
Tiebacks
Fabric or rope loops that bring the curtains inward.
They help control the amount of light and frame the window in a more stylish way.
7. Ironing or Steam Tools
No accessory will save curtains that came out of the package looking like a crumpled map. A small handheld steamer transforms the fabric instantly.
We steam every panel before hanging it. Always worth it.
8. Weight Bars for the Hem
Most people skip this step, but adding a small weight bar inside the curtain hem helps the fabric fall straight and look high end. This is especially useful for lighter fabrics and sheers.
9. Motor Compatibility Clips
If you are future proofing your curtains for motorization, make sure the hooks, gliders, and attachment points work with devices like RYSE SmartShades.
Pleated curtains with strong hooks connect perfectly and glide smoothly when motorized.
What We Learned Installing Fourteen Windows
1. Accessories matter more than price tags
Even budget curtains can look custom with the right hardware.
2. Spacers fix almost every problem
Once we discovered curtain spacers, crooked curtains and tight corners became non issues.
3. Smooth movement is everything
Rings, gliders, and brackets all affect how your curtains open and close.
4. Prep the curtains before hanging
Steaming is important. Every time.
.png)
.png)