
If you are anything like us, you have walked into Home Depot for one small item and walked out with curtain rods, brackets, anchors, screws, and a cart full of things you did not know you needed. When we started motorizing our curtains, we wanted a guide that felt practical, beginner friendly, and honest about the mistakes real homeowners make.
After installing SmartCurtains across our entire Utah home, here is the step by step system we now use. Simple tools, clear instructions, and no designer budget required.
Step 1: Choose the Right Curtain Setup
Before you install anything, decide what type of curtain system you want.
Your options are:
- Traditional rod
- U Rail track
- I Rail track
In our experience:
- Rods are easiest but not ideal for motorization
- U Rails glide smoothly and look clean
- I Rails are great for tight spaces or wide windows
We used U Rails for most of the house because they work beautifully with motorized devices like RYSE SmartCurtain and offer a clean, modern look.
Step 2: Gather Everything You Need
A successful install starts with the right tools. Here is our go to list.
- Drill
- Level
- Pencil
- Tape measure
- Wall anchors
- Screws
- Ladder
- Curtain track or rod
- Curtain panels
- Motorization device (if you plan to add one later)
Do not skip the level. Mark once eyeballed an entire track. It was crooked. We do not talk about it.
Step 3: Measure Twice (Then Measure Again)
This is the most important step. Bad measurements = bad curtains.
Measure:
- Window width
- Desired overhang on both sides (we like 4 to 6 inches)
- Mounting height (mount high to make the room look taller)
- Curtain length
Pro tip: always mount the track higher than you think. It gives the room a more expensive look.
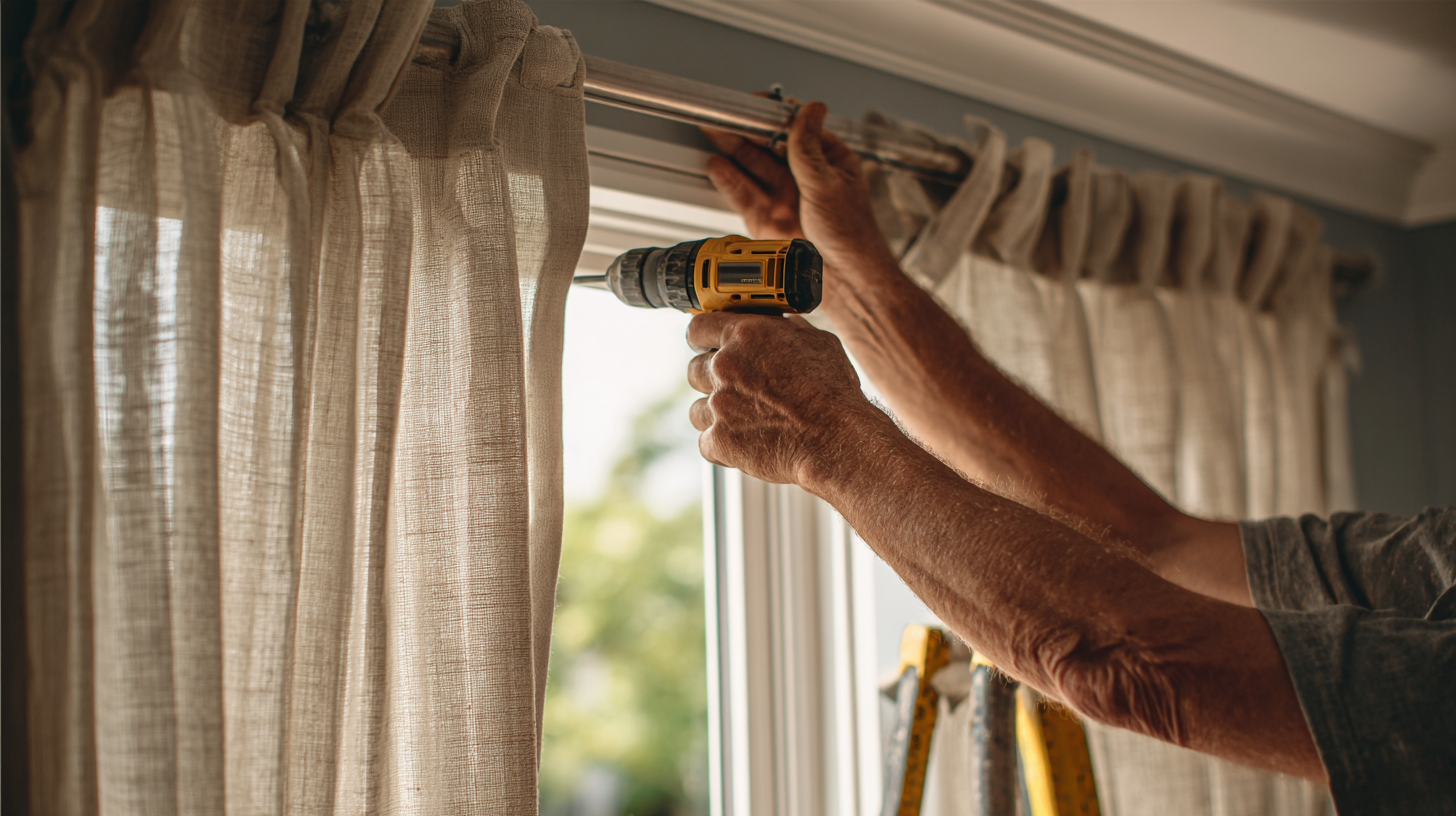
Step 4: Install the Brackets or Track
Now you are ready to drill.
For rods:
- Mark your bracket points
- Drill pilot holes
- Install anchors
- Screw in brackets
- Add the rod
For curtain tracks:
- Hold the track up to the wall and mark bracket spots
- Install brackets evenly along the length
- Snap or screw the track into place
Keep checking with the level. Trust us.
Step 5: Hang the Curtains
Clip, hook, slide, or attach your curtain panels depending on your hardware. Pleated curtains look the most polished and work best with motorized systems because they glide smoothly and keep their shape.
Make sure the curtains clear the floor by at least half an inch. Too long looks messy. Too short looks accidental.
Step 6: Add Motorization (Optional but Amazing)
Once your curtains are installed, adding a motor makes the whole setup feel like magic.
With SmartCurtains, the process is straightforward.
- Attach the motor to the track
- Connect it securely
- Pair it using the QR code
- Set your open and close limits
- Add schedules or scenes
Motorization turns everyday curtains into a system you forget about because it just works.
Step 7: Test Everything
Open. Close. Repeat. Do it a few times to make sure the track is smooth and nothing snags.
If you hear grinding or see uneven movement, adjust the hooks or check the track alignment.
We tested ours while Emma cheered like it was a fireworks show and Copper backed away like the curtains were about to steal his toys.
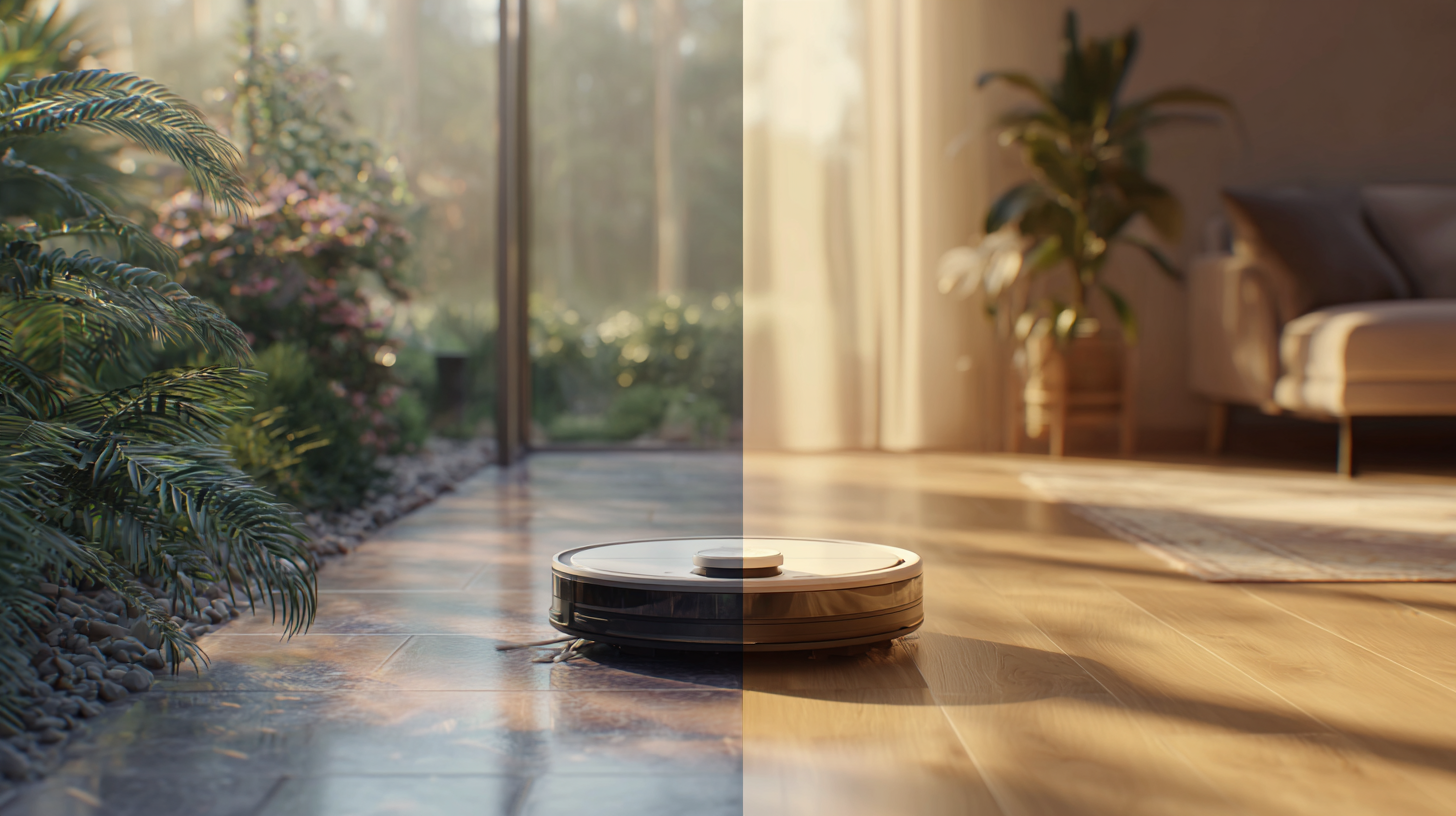
Step 8: Style the Space
Once the curtains are up, step back and see how they shape the room. Add:
- A plant
- A floor lamp
- A simple rug
- A small side table
Curtains are functional, but they also frame the room. Finish the area so it feels complete.
Common Mistakes We Made (So You Do Not Have To)
- Mounting the rod too low
- Choosing curtains that were too short
- Forgetting anchors in drywall
- Measuring only once
- Hanging curtains before finishing paint
- Installing the track before checking alignment
Learn from our mistakes and save yourself an afternoon of frustration.
Why This Process Works for First Time Homeowners
We had zero experience before installing fourteen window treatments. By the end, we felt like we could open a small curtain installation business. This process is simple, repeatable, and budget friendly.
You can start with a basic setup and upgrade over time. You can go full SmartCurtain right away. Or you can take it room by room like we did.
.png)

.png)